When I moved into my own house this summer, just before le divorce, the kitchen became a big-time downsize, which isn’t such a horrid event (we did, after all, have a house, and that is something quite spectacular). Except that my kitchen is my lab is my creative studio is my job is where I store everything under the sun that I use for blogging and food photography. So, there’s been a lot of shuffling items and tossing items and not being able to find what I need, because there’s no space to actually…you know…give anything it’s own space.
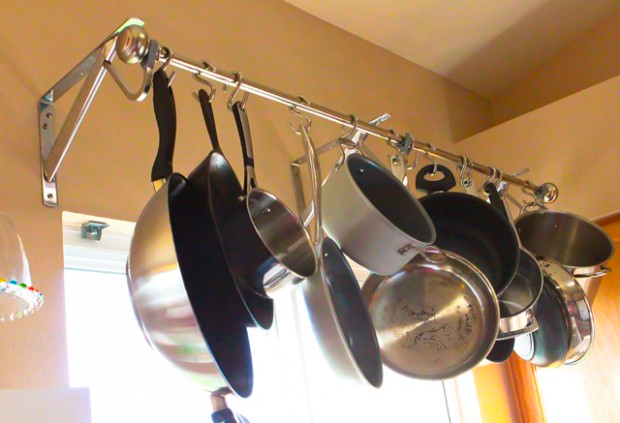
I settled very quickly in the need for a hanging pot rack. Except, the cheap ones are fugly and the expensive ones are…well…expensive. Add to those concerns the giant fluorescent light hanging smack-dab in the middle of the kitchen, and it felt like the whole idea was becoming one of those too-giant projects that might remain unprojected. Undaunted, I felt certain there was a fairly simple solution, some way to create exactly what I needed with my bare, girlie hands, a properly juiced up drill, and a few basic items from the local hardware store.

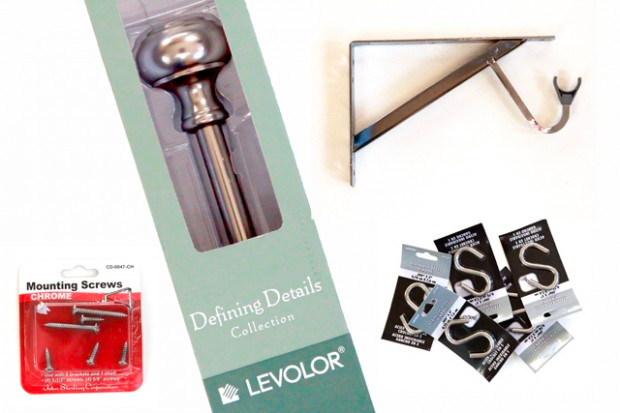
I peeked online, checked out a few blog posts, and sought inspiration from Houzz, then took the photos to Home Depot. The concept I pulled together was to take two brackets from the closet-storage aisle of the store, mount them securely on the wall, then utilize a heavy-duty curtain dowel and S-hooks to make and over-the-window pot rack. Total cost for the project, less than $60, and I was on my way home to tame the beast. Or rather, the pots. But stop being picky about my nouns. I’m feeling too womanly to worry about nouns these days.

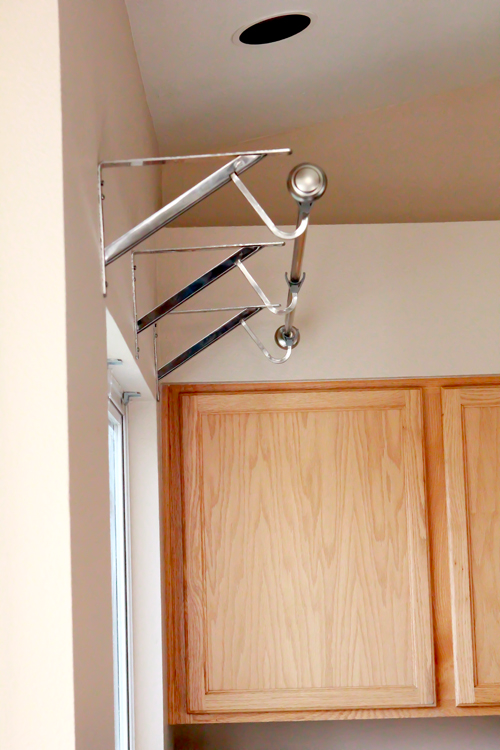
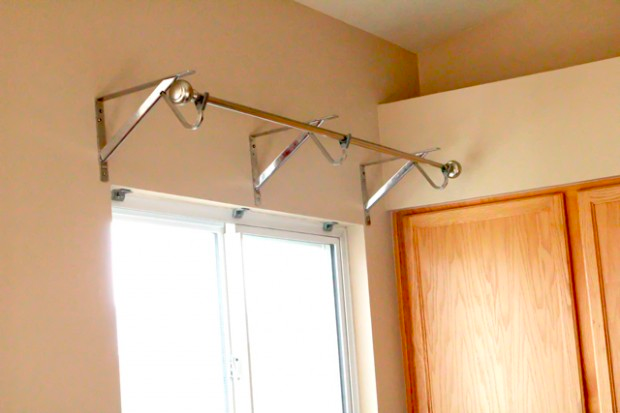
With a level, a stud finder, and a drill, I decided exactly where to hang the brackets above my window. Since my kitchen window is 4 feet wide, I decided to place a third bracket just above the center of the window to ensure proper securage on my project. My oldest son commented when it was all finished, “great on placing the third bracket. This thing woulda died if it wasn’t there.”

That said, the actual putting up of three brackets, nine screws, and a single 4″ long curtain rod took about 20 minutes. I decided to hang the brackets nearly flush with the top of my window to allow plenty of head space above the kitchen sink so we’re not always hitting pots, but just high enough to keep the pots on the rack easily accessible from their S-hooks.
Needing a leetle kitchen redo this January? Grab a drill, head to Home Depot, and get your girl on. This project is sexy simple, and soo fun to have done.

Leave a Reply