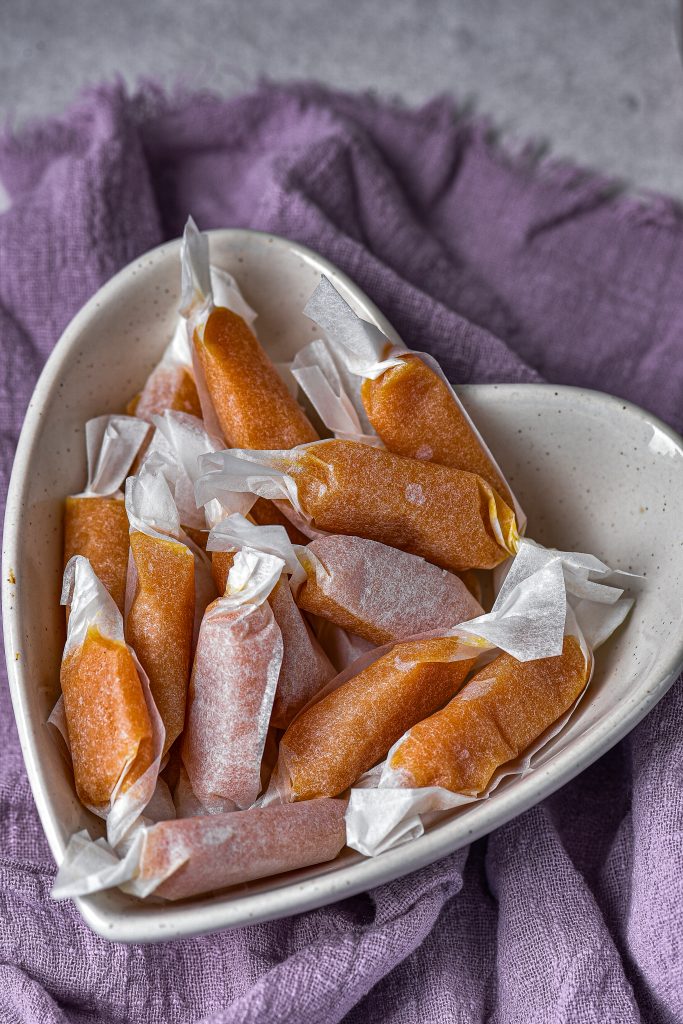
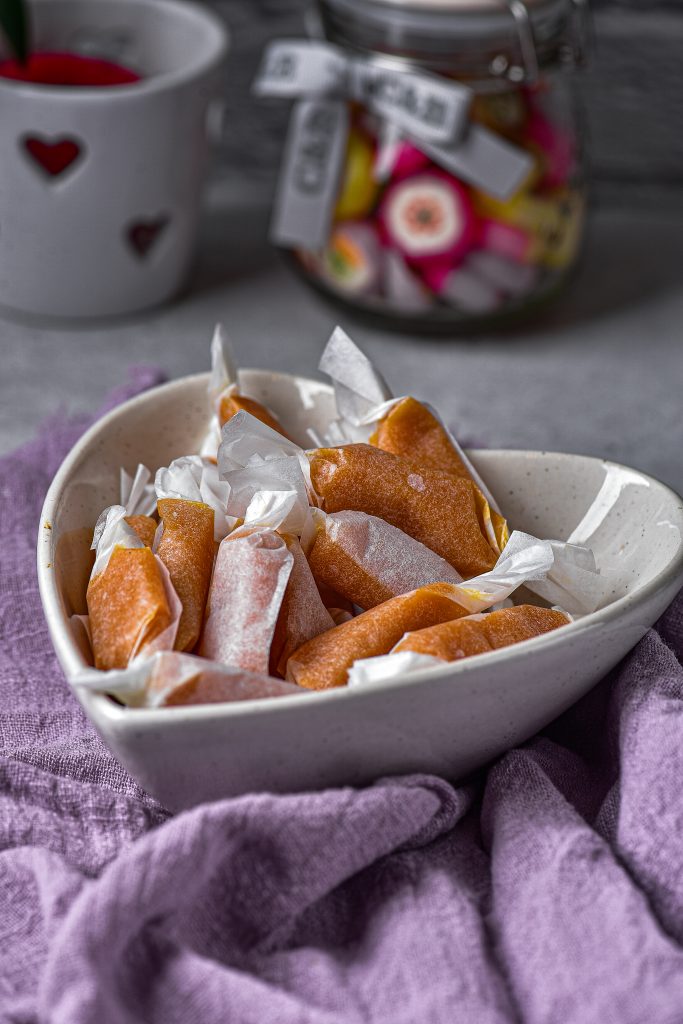
Although you can buy caramel candies from the store, making your own is really easy and the following recipe makes the most delicious ones. And they’re so sweet and soft. The caramels do take quite a bit of time to make but they’re well worth it.
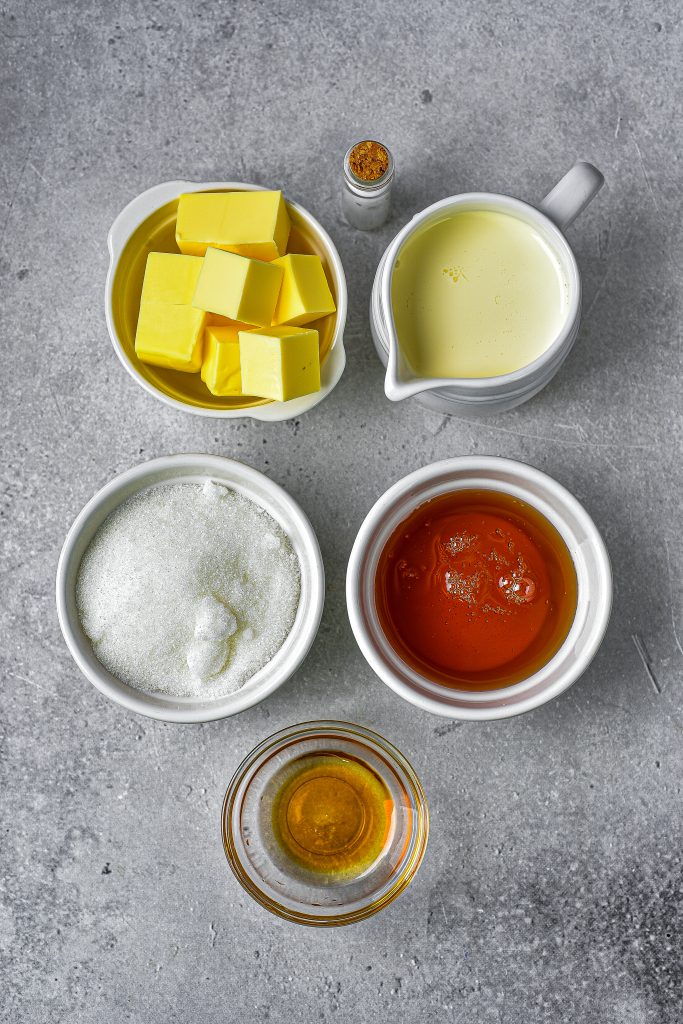
You need white sugar (if you use brown, you will get butterscotch candies instead of caramels, which are delicious but not what we are making here) along with corn syrup, salt, butter, cream, and some vanilla.
Because they’re supposed to come out soft not hard, make sure you don’t overcook them. If the pan gets too hot, this can happen, so take care not to burn or overcook the candy mixture. If you do accidentally make them too hard, you can try cooking them in the pan with a little water to soften up a bit.
If you have the opposite problem and they’re too soft, that means you didn’t get the mixture as hot as you needed, so cook it a bit longer.
Why You’ll Love the Recipe:
Homemade caramels make a wonderful treat for those with a sweet tooth, and it’s not hard to make at all. These candies are sweet, buttery and always delicious.
How to Serve Them:
Enjoy a couple of these with a cup of coffee, festive beverage or anything else you like. You can also chop them and use to decorate cupcakes, whipped cream topped coffee or hot chocolate, or sundae recipes.
Can You Make Them Ahead?
Yes, you can make these in advance.
Ingredients:
- Light syrup
- White sugar
- Heavy whipping cream
- Salt
- Vanilla extract
- Cubed salted butter
How to make Homemade caramels:
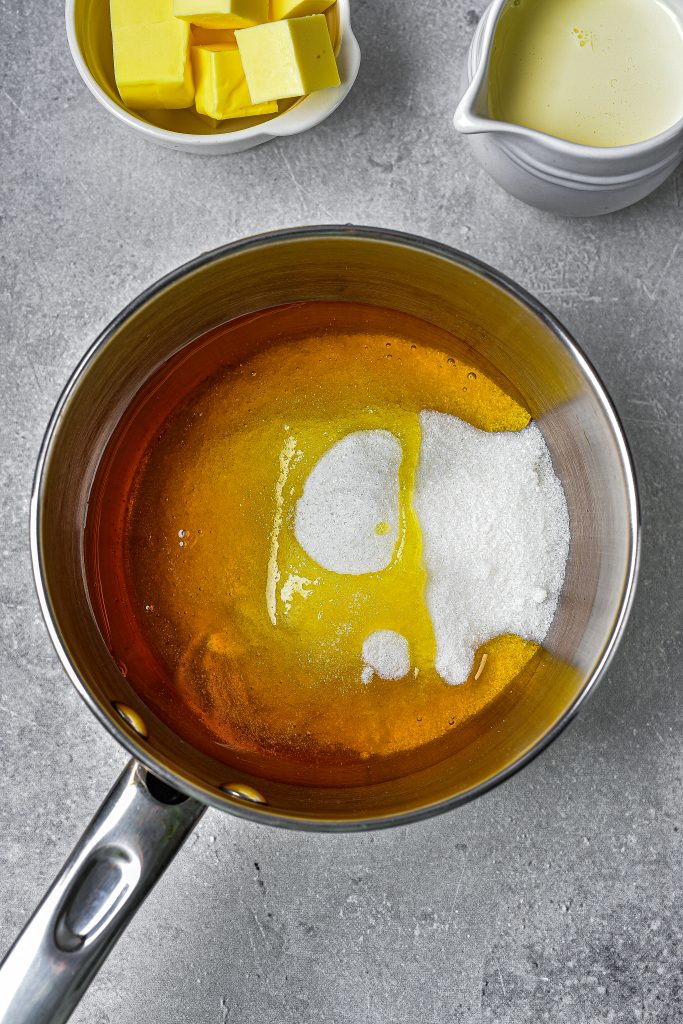
Whisk the syrup, sugar and salt in a pan over a high heat until the mixture is bubbling.
Add the cream gradually, keeping the mixture boiling, and then mix in the butter.
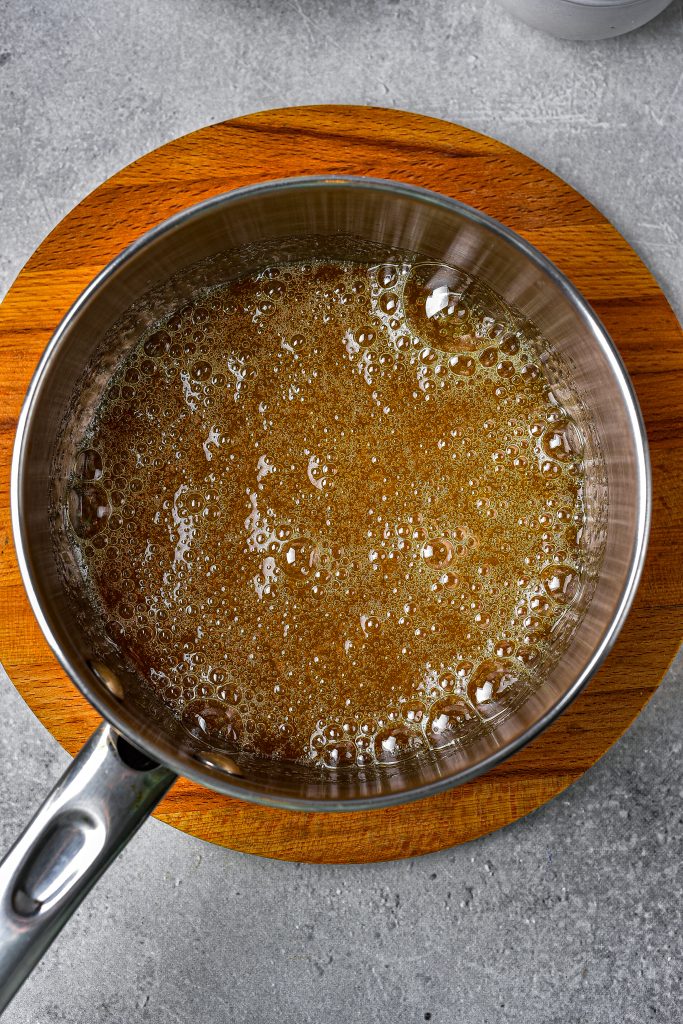
Keep the mixture boiling for about 15 minutes or until a candy thermometer reads 240 or 245°F.
Drizzle a teaspoon of the mixture into a glass of ice water then roll it between your fingers.
If it’s sticky and pliable it’s ready but if it’s liquid, boil and whisk it some more.
Take the mixture off the heat when done, and mix in the vanilla extract.
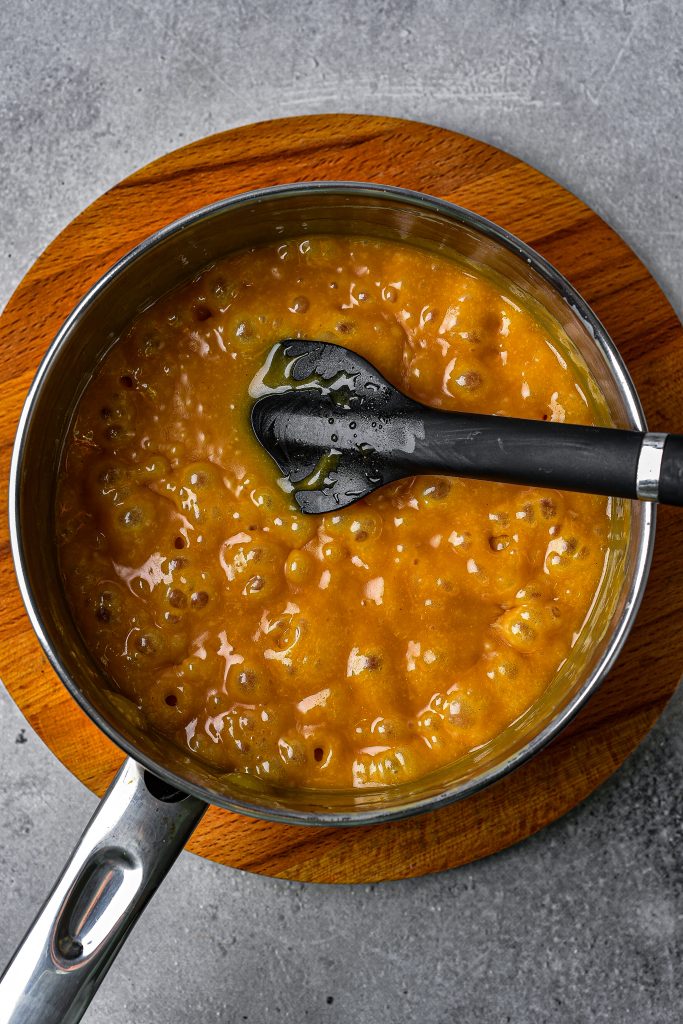
Pour into a parchment paper lined (or greased) 13 x 9-inch baking dish.
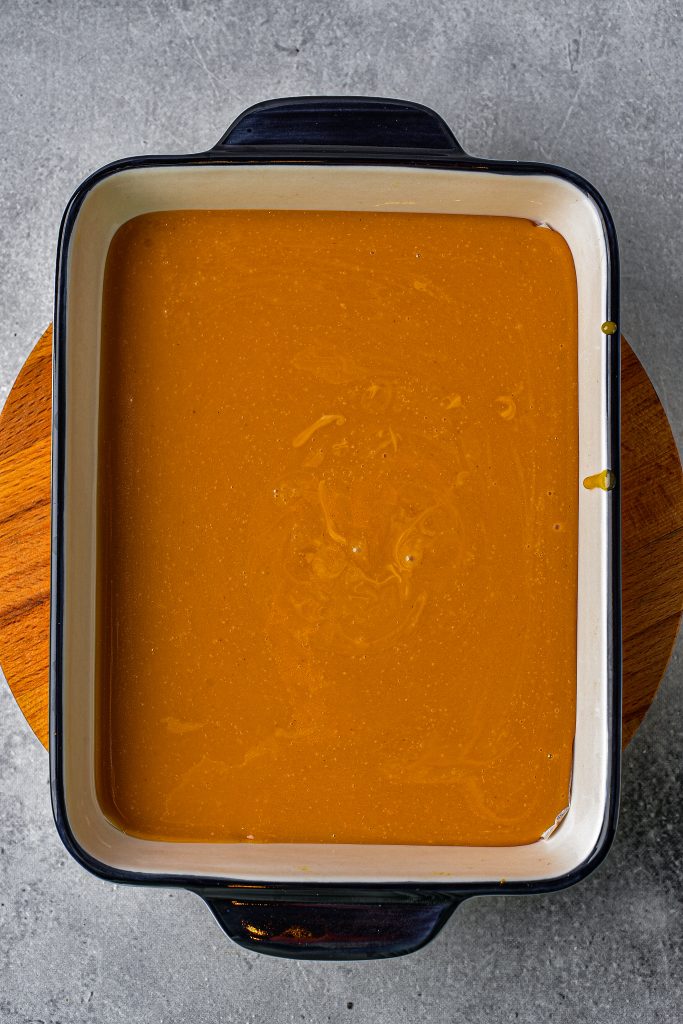
Let it cool and set on the countertop.
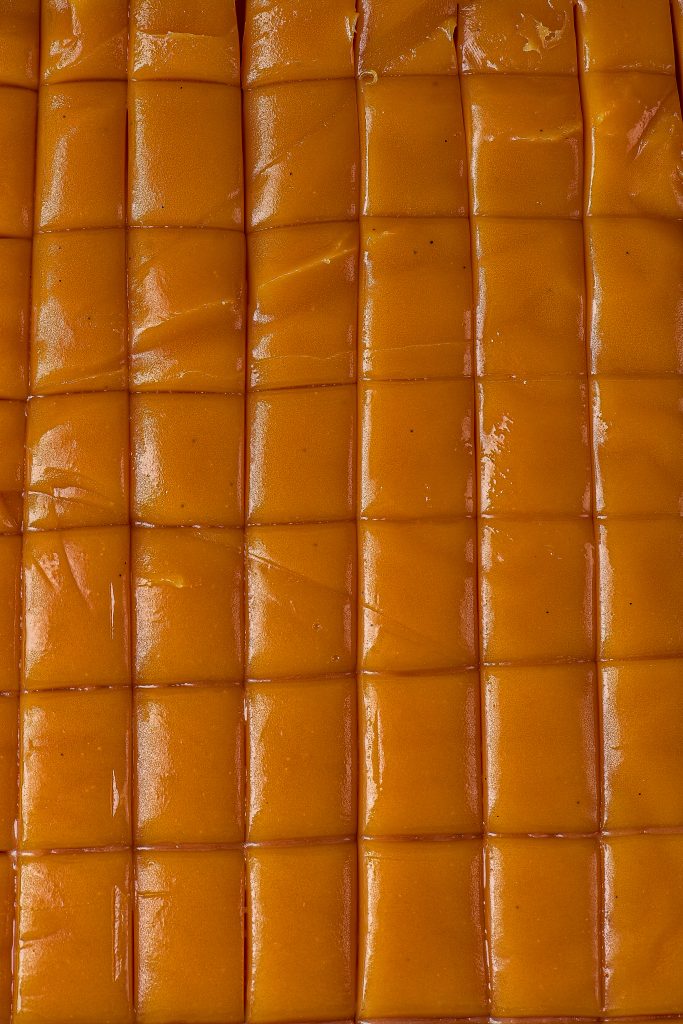
Cut into 12 rows using a butter knife and then into 4 rows the other way, so you end up with 48 caramel candies.
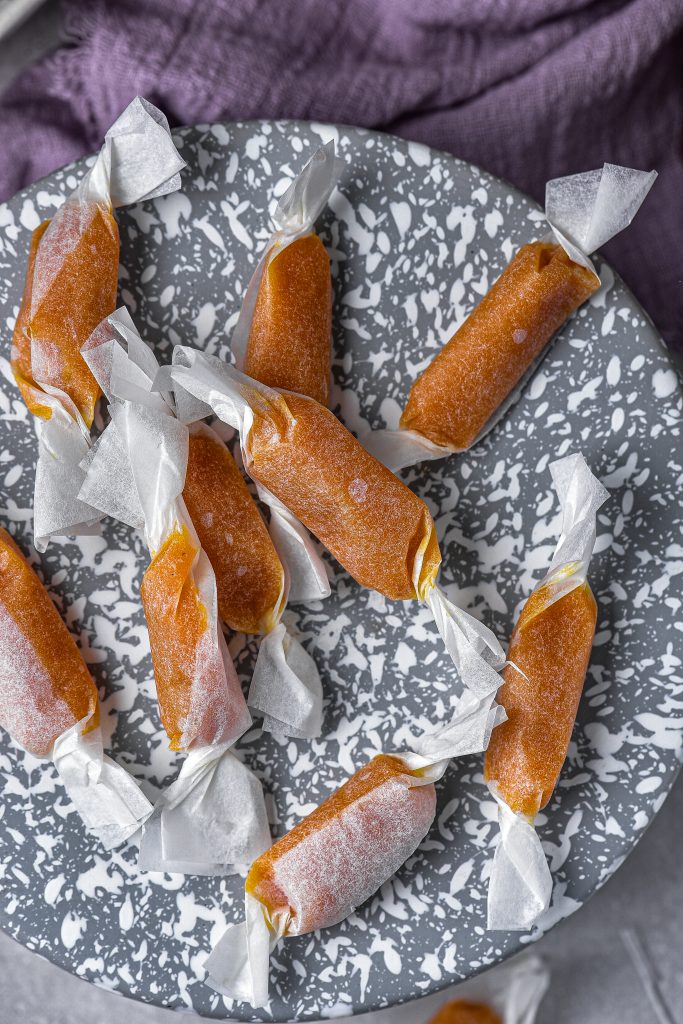
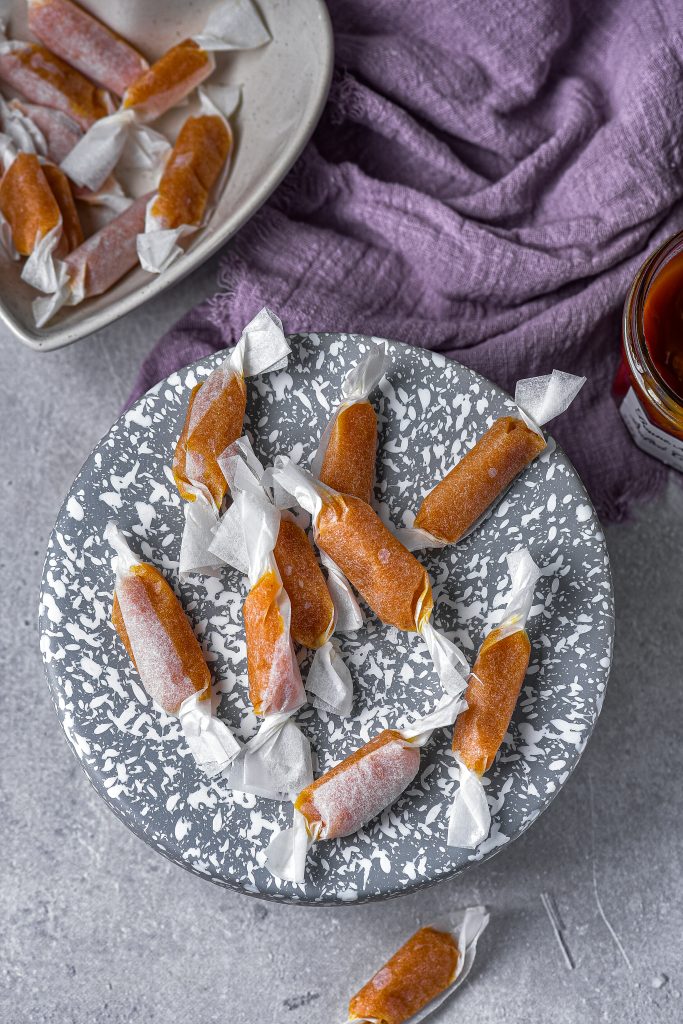
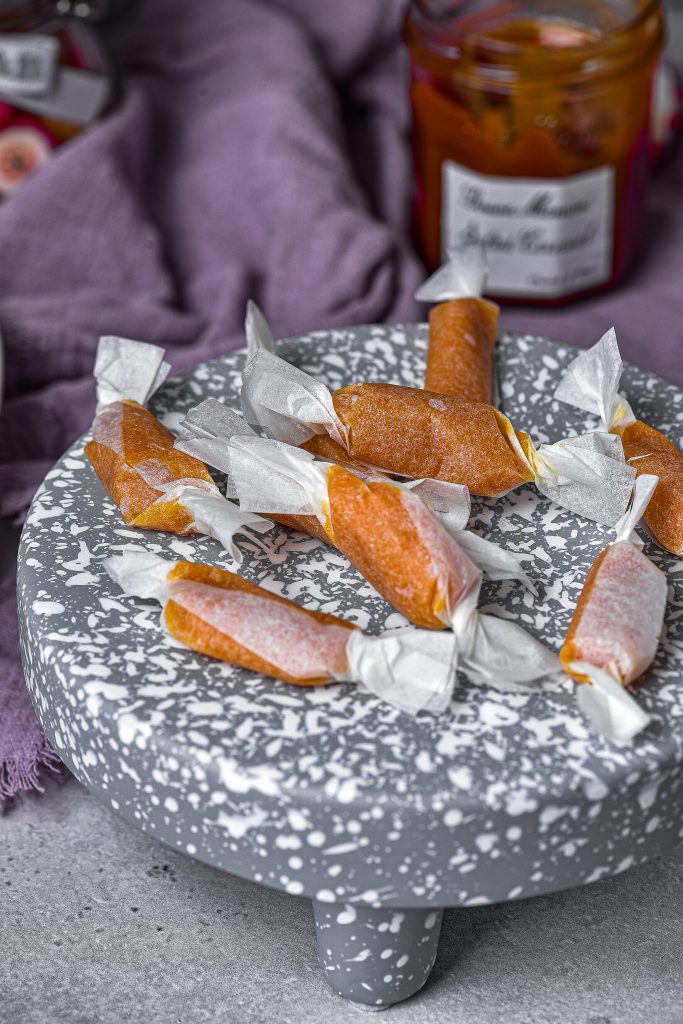
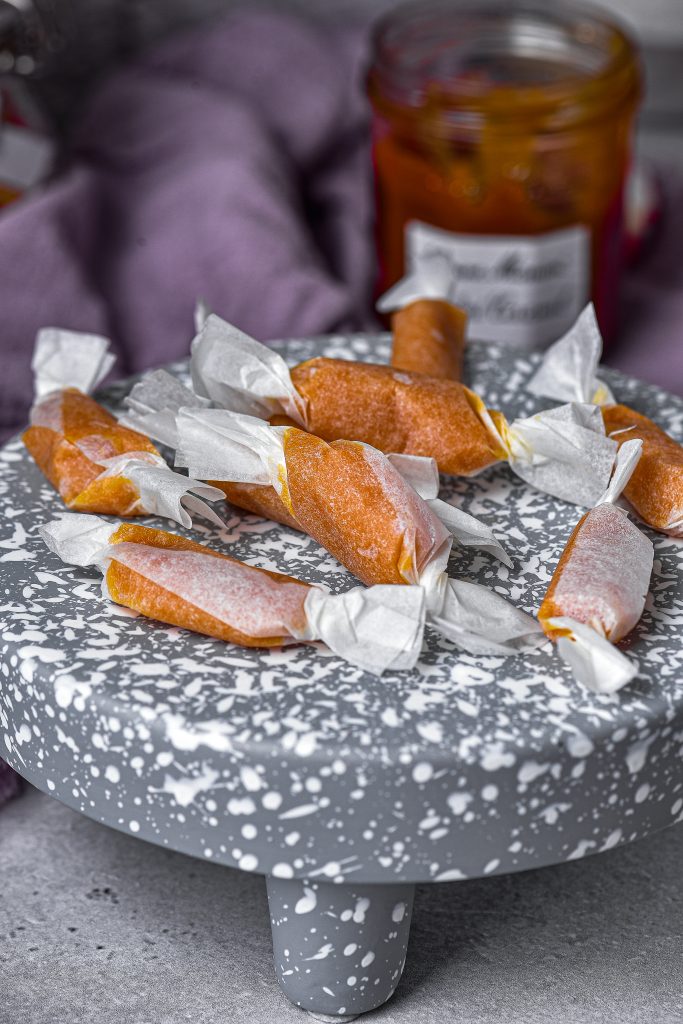
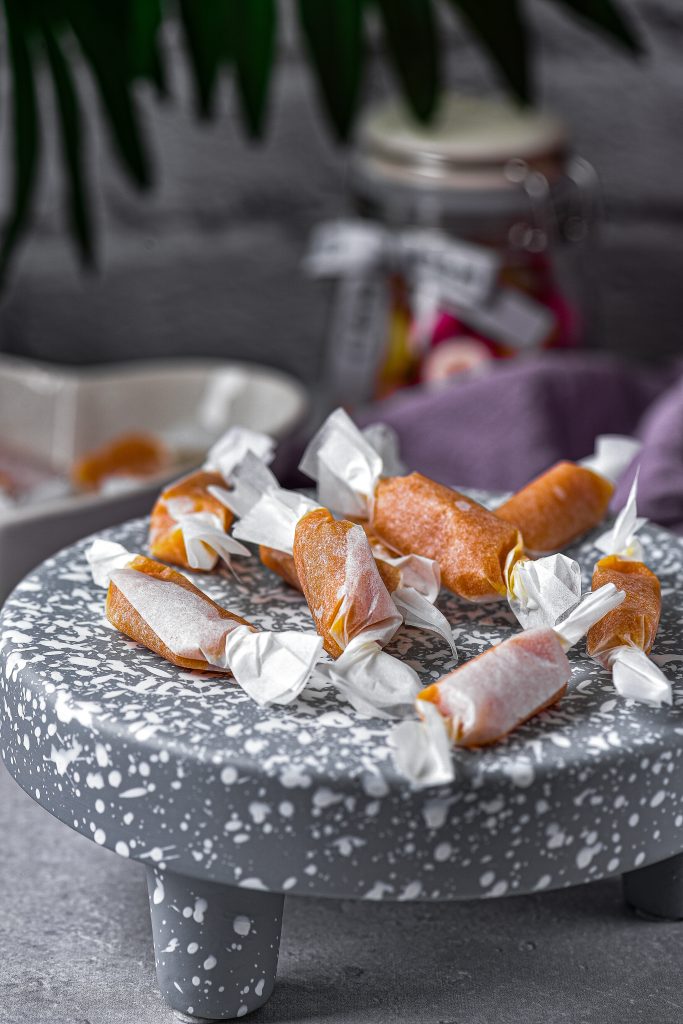
Wrap each one in a piece of wax paper.
Homemade caramels are better than any store-bought version. They’re not hard to make and they taste so delicious. One of these is never enough!
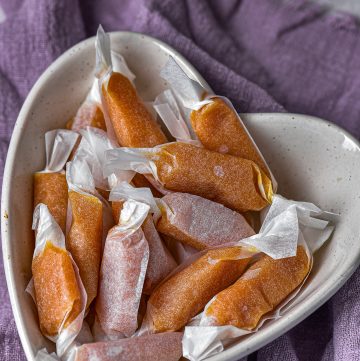
Homemade caramels
Ingredients
- 2 cups light syrup
- 2 cups white sugar
- 2 cups heavy whipping cream at room temperature
- ½ teaspoon salt
- 1 teaspoon vanilla extract
- ½ cup cubed salted butter
Instructions
- Whisk the syrup, sugar and salt in a pan over a high heat until the mixture is bubbling.
- Add the cream gradually, keeping the mixture boiling, and then mix in the butter.
- Keep the mixture boiling for about 15 minutes or until a candy thermometer reads 240 or 245°F.
- Drizzle a teaspoon of the mixture into a glass of ice water then roll it between your fingers.
- If it’s sticky and pliable it’s ready but if it’s liquid, boil and whisk it some more.
- Take the mixture off the heat when done, and mix in the vanilla extract.
- Pour into a parchment paper lined (or greased) 13 x 9-inch baking dish.
- Let it cool and set on the countertop.
- Cut into 12 rows using a butter knife and then into 4 rows the other way, so you end up with 48 caramel candies.
- Wrap each one in a piece of wax paper.
Notes
Storage Instructions:
Wrap the caramels in wax paper or cellophane and keep them in an airtight container. They will keep for about 2 weeks at room temperature.
Variations and Substitutions:
Add some salt flakes on top as a flavor contrast if you want or swap the vanilla for another flavor of extract.

Leave a Reply